GTA 6 Underwater Exploration: Gear and Six Wreck Leads
Prepare for GTA 6 underwater exploration, follow six early wreck leads around Key Lento, track Kenton’s Treasures and avoid confusing a visit with completion.
What should you prepare before diving?
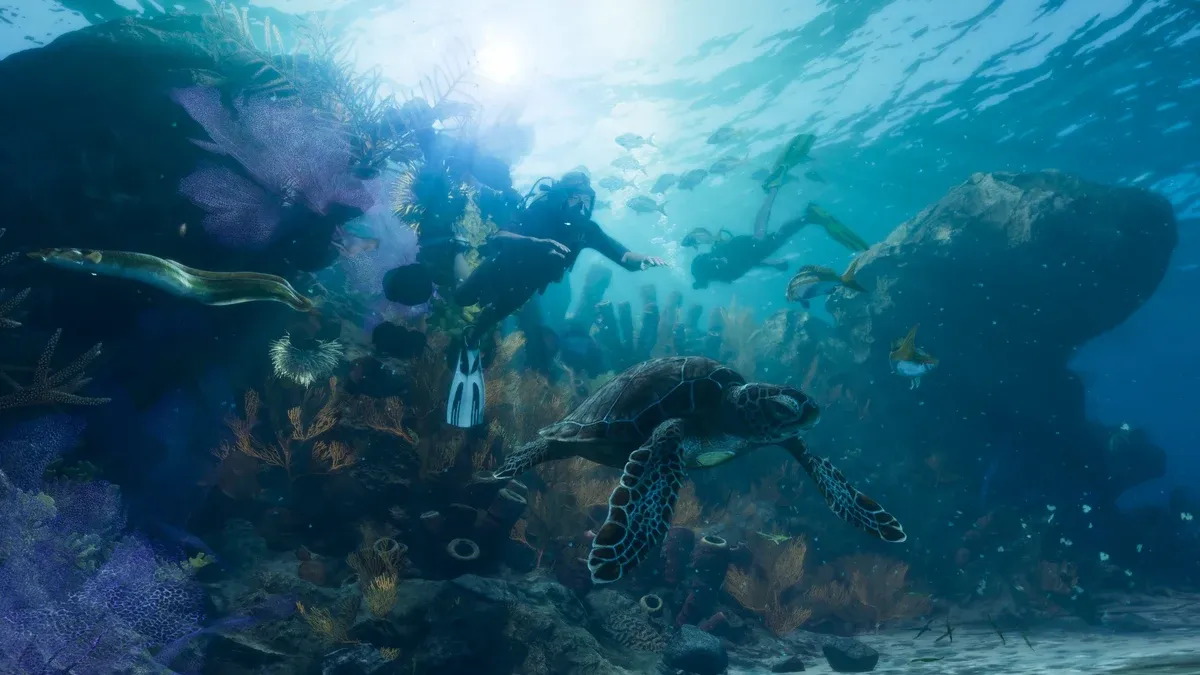
Push Square’s underwater guide describes scuba equipment and the collection menus for Kenton’s Treasures / Exploration. It lists 33 discoveries overall but currently documents six. This page organizes those six leads rather than claiming a complete ocean-wide route.
Before leaving shore, identify your starting point, equipment and intended wreck. Check the current controls and indicators rather than assuming unlimited underwater time or a piece of equipment you have not obtained. Plan how to return to the boat before concentrating on small objects.
Which early wreck leads can you investigate?
The regional pointers below come from the same reference. They narrow the search area; use the in-game discovery and local landmarks to identify the actual wreck.
| Wreck | Search lead |
|---|---|
| Nuestra Señora del Ocio | Key Lento; Island Dreams story introduction |
| Nuestra Señora de la Noche | South of Key Lento |
| Nuestra Señora de la Ética Laxa | South of Key Lento and Abismo Key |
| Urca de Cinco Torres | Southeast of Key Lento, near green islands |
| Nuestra Señora Lujuriosa | Southeast of Key Lento island group |
| Urca de Santa Sierra | East of Key Lento |
How do you search a wreck without losing your place?
Choose a recognizable starting feature and work through the site systematically. For example, finish one side before circling to another, and record the named objects you recovered. This is a search method, not a claim that every wreck has the same layout.
If visibility or orientation becomes difficult, return to the known starting point instead of swimming randomly. Compare your notes with the collection screen at a sensible break. A small recorded search is easier to resume than a long unstructured dive.
Why is the location still unfinished?
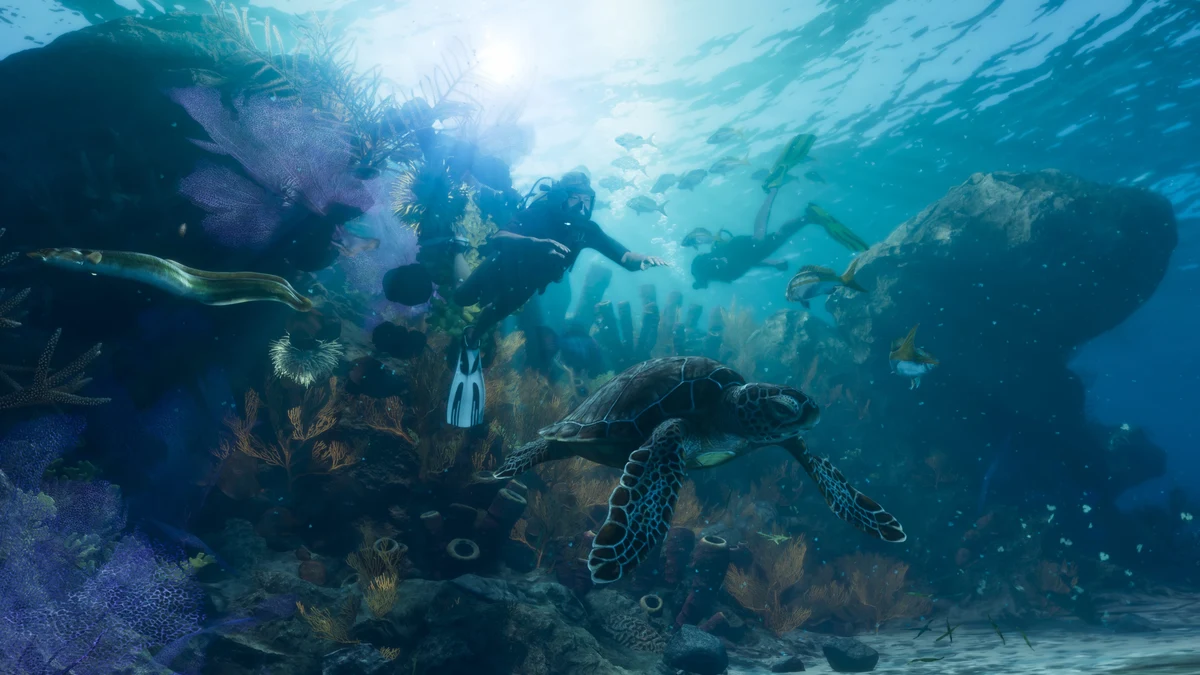
Being near a discovery, finding the wreck and recovering its required objects can be different steps. The source’s introductory Ocio example includes ten doubloons. Check the current collection requirement rather than assuming one pickup clears the entire site.
Record the treasure name, not just “found something near the stern.” When returning, you can focus on the missing entry instead of rechecking everything. Keep discovery progress and treasure-set progress in separate columns.
How should you combine this with the map and 100% route?
Use the regional overview and interactive map to orient yourself around the Keys. The current site map does not supply verified wreck coordinates, so do not treat a regional icon as the exact dive position.
For the wider milestone, use the 100% completion guide. Finish and verify the local objective before crossing it off a global list. A partly explored wreck should remain marked as such even if you have already visited it several times.
When should you stop and resupply?
Return when the current indicators, equipment or uncertainty make continued searching unproductive. Check health and supplies before another attempt and save when the game permits it. More time underwater is not automatically more progress if you cannot identify what is still missing.
Related Articles
guides
GTA 6 100% Completion Guide: Checklist and Cleanup Order
Organize GTA 6 100% completion with a category checklist, discovery targets, regional cleanup routes and a clear method for checking stalled progress.
guides
GTA 6 Best Beginner Settings: Controls, HUD, Audio and Units
Set up GTA 6 for a clearer first session: find settings, adjust controls and readability, turn menu narration on or off, change distance units and reset safely.
guides
GTA 6 Change Clothes: Wardrobe, Saved Outfits and Vehicle Storage
Change clothes in GTA 6, use a wardrobe, find clothing stores, save an outfit and prepare a vehicle change. Includes checks for missing clothes and rewards.
Was this helpful?
Thanks for the feedback!