
GTA 6 Leonida Regions: Vice City, the Keys and Beyond
Explore the six officially named GTA 6 regions, compare their visual identities, and build a region-by-region plan using screenshots and the interactive atlas.
How should you organize the six regions of Leonida?
Use a separate entry for Vice City, Leonida Keys, Grassrivers, Port Gellhorn, Ambrosia, and Mount Kalaga. These names appear in Rockstar’s official setting presentation. They are useful search labels and notebook headings even before you begin organizing individual streets or activities.
Instead of ranking regions as better or worse, ask what each set of images makes you want to investigate. Keep a shortlist of scenes, a recognizable landmark, and a reason for visiting. That gives every region a purpose in your exploration plan.
What should you look for in Vice City?
Begin with signs, building silhouettes, street approaches, and the relationship between the foreground and skyline. The city name is a broad starting point; it is not a substitute for the label of a particular entrance or location.
The Vice City location guide explains how to compare these details. For a first city notebook, choose one strong visual identifier and leave space for the route you actually take when playing.
How should you read the Leonida Keys images?
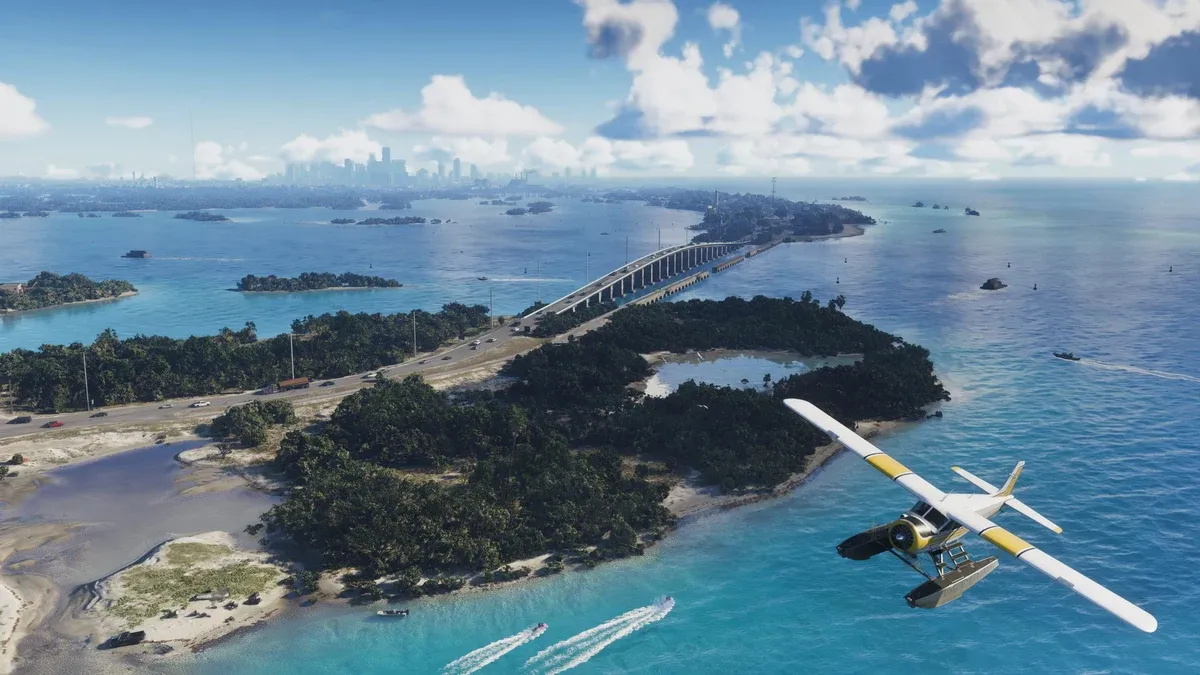
In the official image below, islands, a bridge, water, and an aircraft share the frame. Separate those visible elements into different questions: how a land route connects, where water access might be investigated, and which landmarks are recognizable from another angle.
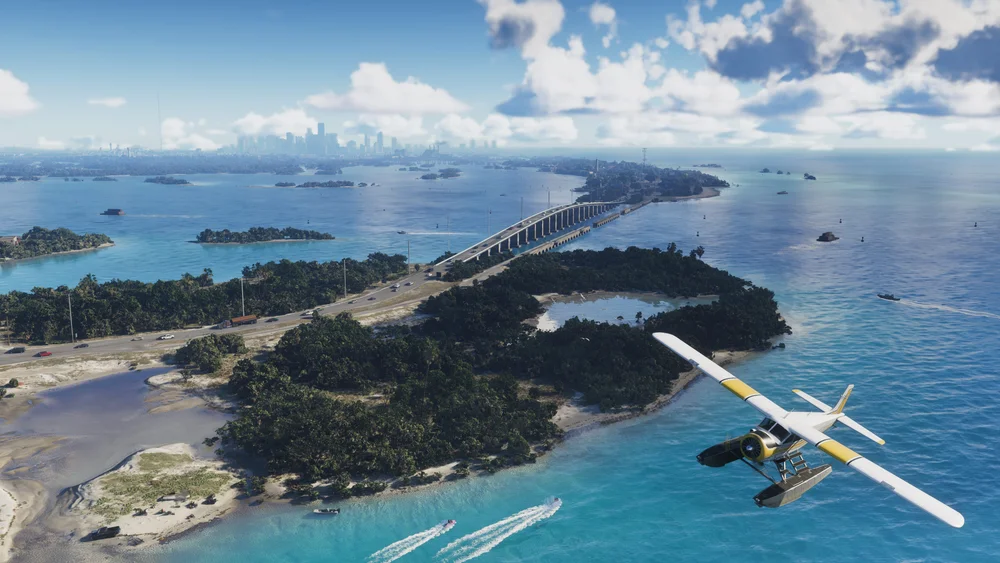
Do not collapse every kind of travel into one note. A destination visible from above still needs a practical approach. When you later make a visit, record whether your note concerns a road approach, a shoreline, or a view from elsewhere.
What is useful to notice in Grassrivers imagery?
Start with the scene’s subjects and immediate setting. The official image used here shows people and an alligator alongside equipment. That makes it a useful exercise in separating foreground activity from the wider landscape.
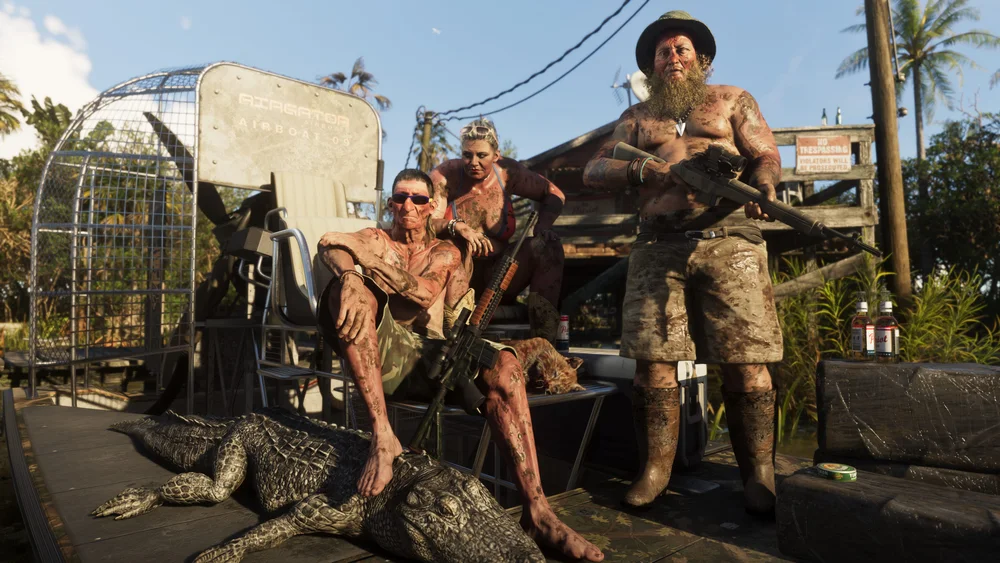
For exploration notes, record what can identify the place again rather than turning the scene into a promise about an activity. A visible animal, prop, or vehicle is an observation to investigate; the actual interaction comes from the game instructions you encounter.
How can you recognize Port Gellhorn scenes?
The motel signage in this image is a stronger identifying detail than the general darkness of the shot. Preserve readable words, the sign shape, and the position of the buildings when comparing another view.
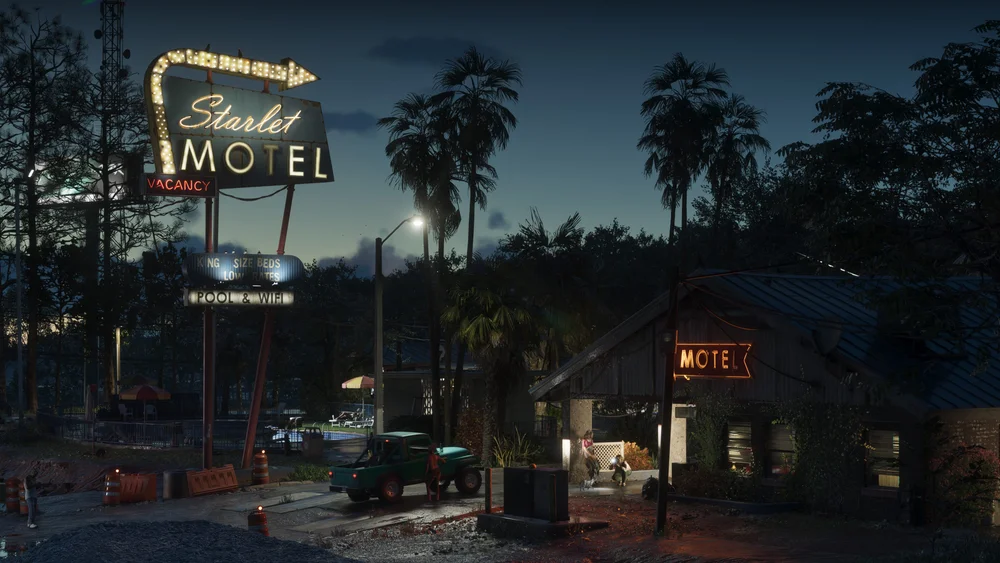
A sign can be a useful landmark even when you are not visiting the business itself. Keep “I can recognize this scene” separate from “I know its exact entrance or the purpose of visiting.”
How should you organize Ambrosia observations?
Look at how the road, buildings, overhead lines, and moving subjects relate to each other in the official image. If you want to revisit a street scene, write a route cue rather than recording only the most prominent vehicle.
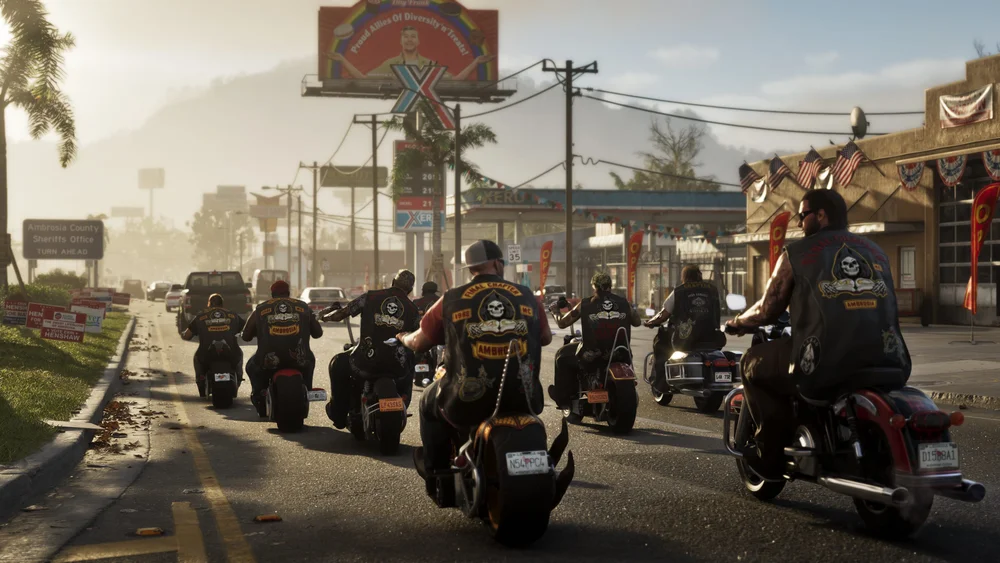
Separate the region folder from the specific road or business entry you later identify. This makes it easier to add a new observation without overwriting an older location note that merely has a similar visual theme.
What should you do with Mount Kalaga material?
Keep the official region name as the search heading, then inspect each scene individually. A region’s name is not a guarantee that every image will show the same landscape. Record terrain, structures, and visible routes as separate observations rather than compressing the whole area into one adjective.
The official media collection contains region-labelled material you can compare with character or vehicle images. Pay attention to the caption attached to an image: a character appearing in a scene is a different organizing clue from the scene’s region label.
How do you turn this into an exploration checklist?
Create six entries, choose one visual question for each, and mark a region after your own visit. Open the interactive atlas for a browser-based checklist. Its schematic layout helps organize entries; use your actual in-game location information for directions.
| Your goal | Good first note | Next step |
|---|---|---|
| Recognize a scene | A sign or building shape | Find another view |
| Return to a place | An approach and turning point | Record the route |
| Investigate an activity | The current objective or prompt | Follow its stated conditions |
| Compare regions | Separate folders with source images | Add observations after visiting |
All images above can be traced through Rockstar’s media collection. For travel choices, use the vehicle guide instead of assuming that a region label determines the best transport.
For map areas and directions to Jack of Hearts and Delights, use the GTA 6 strip club locations guide. Names, signs and character connections are covered in the club introduction.
What should you read next?
Related Articles
guides
GTA 6 100% Completion Guide: Checklist and Cleanup Order
Organize GTA 6 100% completion with a category checklist, discovery targets, regional cleanup routes and a clear method for checking stalled progress.
guides
GTA 6 Best Beginner Settings: Controls, HUD, Audio and Units
Set up GTA 6 for a clearer first session: find settings, adjust controls and readability, turn menu narration on or off, change distance units and reset safely.
guides
GTA 6 Change Clothes: Wardrobe, Saved Outfits and Vehicle Storage
Change clothes in GTA 6, use a wardrobe, find clothing stores, save an outfit and prepare a vehicle change. Includes checks for missing clothes and rewards.
Was this helpful?
Thanks for the feedback!